Skip to content


Pro Tips for Working on Car Panels
Repairing and modifying panels is an essential skill for any welder working with automobiles. Fortunately, when you know how to do it correctly, it can be incredibly rewarding. There’s nothing like examining a panel you just finished and realizing it looks better than the day it was first fabricated. On the other hand, car panels are a living nightmare if you don’t know what you’re doing. No matter what experience level you’re at, these pro-tips are solid advice for anyone welding panels.
Clean your plate
A series of thin, outside panels make up a car’s exterior. These panels are essentially metal plates. What they’re made of depends on the year and model of the vehicle. If a panel is rusted or damaged in a way where it can’t be bent back into shape, it’ll either need to be replaced or a patch will need to be welded in place.
When welding a patch, it’s important to make sure all the paint, protective coating and rust is removed from your weld area. For repainting, often all the old paint is removed anyways. In many cases, it’s better to clean the surface of your panel before cutting out the area where your patch will go so you’re not grinding the edges of the hole.

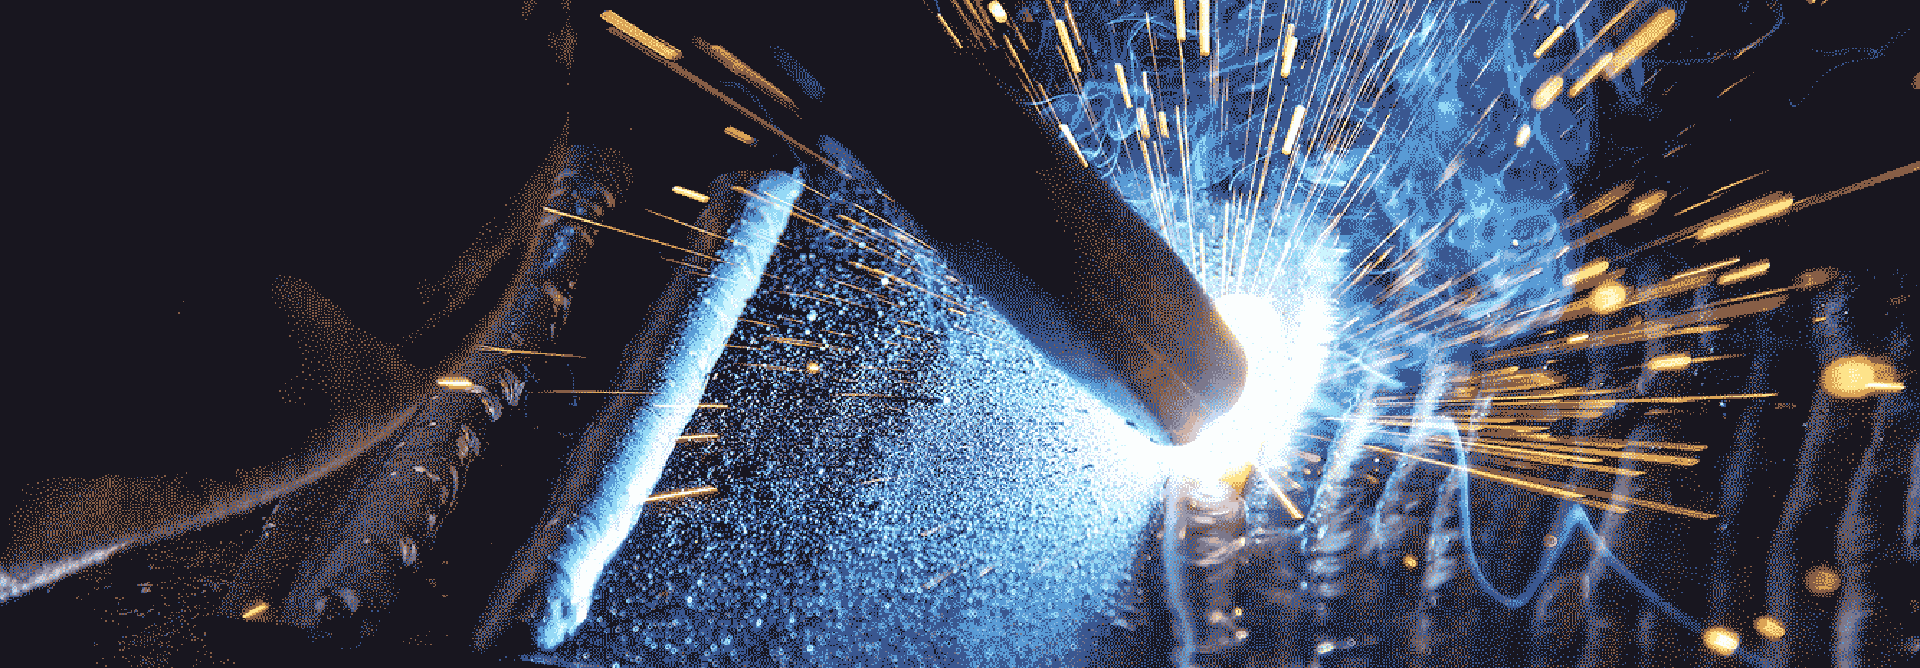
An example of quick welds to minimize the build-up of heat.
Warpage: Public Enemy #1
Warpage is the most common problem while welding panels. The thin sheets of metal can easily warp with even a moderate amount of heat. Generally, time is the only counter-measure. While welding a patch, a preferred method is to use quick tacks that overlap one another. Place a tack, then move to a different part of your piece, place another tack and then move again. Only come back to your first tack when the area is cool enough. Place a tack on top of your previous tack, then move onto a new spot.
This method will allow you to continue welding without building up excessive heat in any one spot. Otherwise, if you weld like normal in a straight line, you’ll potentially build up too much heat and warp your piece.
It’s not just welding that can create too much heat. We often forget that grinding, even with a flap disc, can cause a lot of heat. While grinding, make sure you’re not spending too much time in one spot or you’ll cause the panel to warp.
Flush Your Butts
When welding a patch in place, you want it to be as flush with the panel as possible. After you’ve accurately measured and cut your patch, avoid tacking it until you’ve got it lined up on all sides with the edges of your panel. Clamps are a great way to hold your patch in place while you get your pieces as flush as possible.
Some welders prefer to use thin strips of metal tucked behind the area where their patch and panel meet. This way, the patch doesn’t need to be totally flush. The downside to this method is that the metal behind the patch can become contaminated over time. In a perfect world, the best solution is to butt weld both pieces flush with one another.
Reference your charts
Because car panels tend to be very thin, it’s easy to blow right through them with the wrong settings. If you don’t have a machine with an auto-set feature, you’ll need to reference your charts for the proper settings. If you’re trying to “eye ball” things instead, make sure to practice on a spare piece similar to your panel and keep the kids away… you’re going to be doing a lot of cursing.
Luckily, many of the newer welders have auto-set features that make getting the right settings a hassle-free experience. Why not at least see what your missing? We recommend the Millermatic 211 or the ESAB Rebel EMP 215ic which both have excellent auto-set functionality.