Skip to content


Here’s the best way to burn into your brain the critical points of building a bumper: Think of it like a fancy speedo. You know, like swimwear that someone with a handlebar mustache would wear while roller skating near the beach... in the 80s. Now, some people obsess over how their speedo looks, they start to think that style is the ultimate goal. At some point, they forget the ultimate goal for a speedo is to keep your junk all covered up and safe from the outside world.
We hear you saying, “I’ll never get that mental image out of my head.” Good, hold tight to those banana hammock thoughts and remember this lesson. Because the exact same thing happens with bumpers, a lot. People become so obsessed with the style and the design, they forget a bumper’s ultimate goal: To protect you and your vehicle. Here’s some crucial tips and tricks to help you make the perfect bumper.
Pre-Check
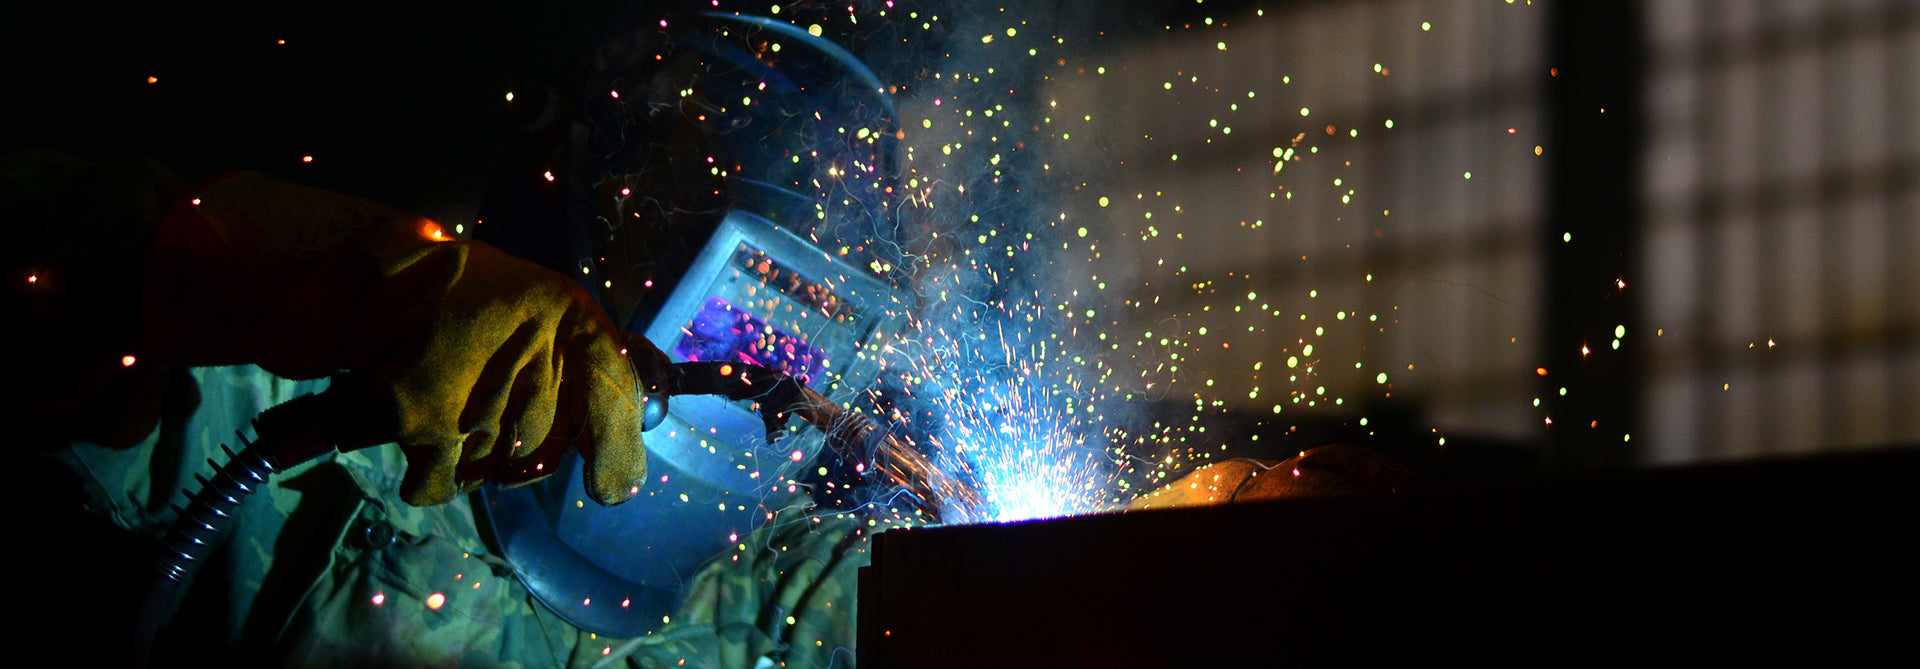
Generally, we’re all about getting your hands dirty and learning as you go. But bumpers aren’t the best projects for finding your sea legs. Bumpers are often the first area of impact in a crash, especially with off-roading where your car is usually the aggressor (compared to normal driving where you’re just as likely to be hit by someone else). Low quality welds won’t stand up when put to the test, so make sure you’ve got the skill set to produce beads that can take the torture.
Important Tips
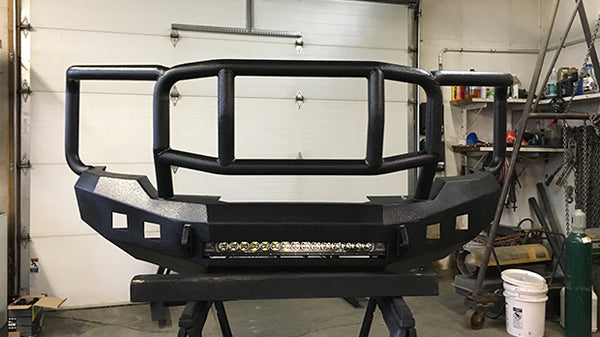
There’s a hundred different ways to build a bumper, from doing it completely from scratch to using a bumper kit (a packet of pre-cut pieces you weld and mount yourself). The method you choose will largely depend on which processes you’re familiar with and what materials you have. No matter what method you choose, here are some critical tips to remember.
Learn as Much as You Can From the Stock Bumper
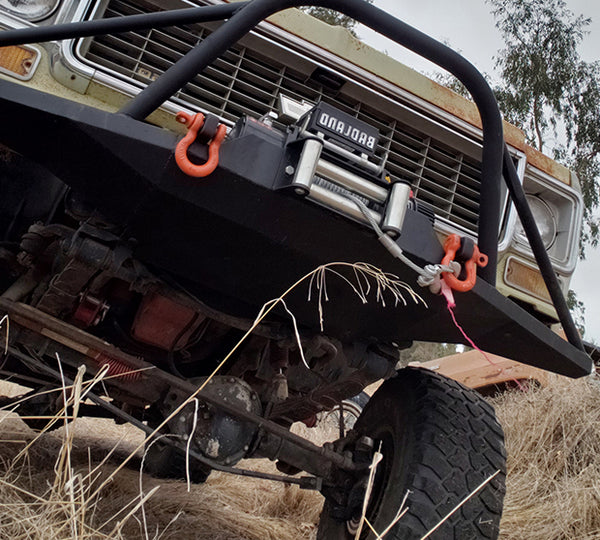
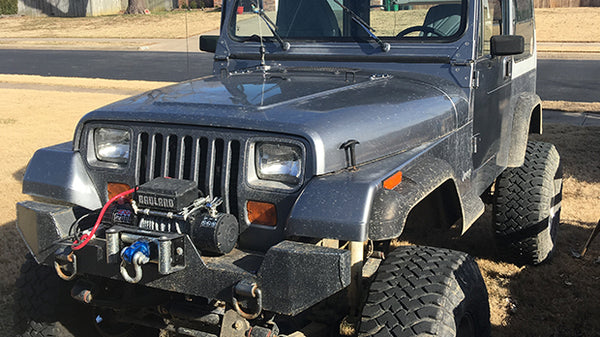
You don’t have to reinvent the wheel. When removing the original bumper, make sure you learn everything you can and don’t throw it away or sell it until you’re done with it. One of the most important things to study is how the stock bumper mounts to the vehicle. Most vehicles have some type of system with bolts to mount the bumper to the frame, although not always. Pay extra attention to how your stock bumper mounts to the vehicle so you can copy the same design.
In some cases, you may need more mounting points than the stock bumper. You might think, “Why not just start welding the bumper directly to the frame?” Here’s the downside to this. First of all, it’s a huge benefit to be able to remove your bumper in order to make any repairs. Making it possible to remove your bumper down the line can save a lot of headaches.
The other reason you don’t just want to go about mounting your bumper all willy nilly is that car frames have natural strong and weak points. Manufacturers specifically design bumper mounts to be fixed at stronger points of the frame. This means when the bumper is impacted, the force leads into part of the frame that’s built to withstand it. If you start bolting a bumper to random points on the frame, there’s a chance you could direct that force somewhere it wasn’t meant to be.
If you’re adding more mounting points than the stock bumper has, see if you can glean some information from professional-made bumpers or bumper kits for the same model of vehicle as yours. Often, someone with more understanding of the vehicle’s frame will have strategically picked these extra points already.
Cardboard for Easy Measuring
If you’re going with a bumper kit, it’s pretty much like legos. In theory, you just have to put it together. Making your own bumper from scratch, however, requires a certain level of pre-planning.
The most common way to begin is by putting down your welding torch and picking up a cardboard box. It's the perfect material to build a mock-up of your new bumper, allowing you to refine your design. Keep in mind, triangles are generally stronger than squares, use them when possible. If you plan on utilizing pipes, your cardboard mockup can help you get some dimensions, although it won’t be as useful for complete measurements.
When attaching your cardboard pieces together, use duct or masking tape instead of glue. This way, you can disassemble your mock up and use your cardboard pieces as templates for your real parts. This makes measurements much easier and more accurate. As for cutting all the individual shapes out, a plasma cutter can save you a lifetime of work. You owe it to yourself to at least explore the option.
Sealing It Up
Like we mentioned at the beginning, protection is the ultimate goal of any bumper. Nothing will ruin its reliability over time more than rust. It seems obvious, but this final step is so often overlooked.
Powder Coat or paint can both do the trick. Some welders even use the coating material made for truck beds. Your aim is to keep the outside world away from your unprotected metal.
Any type of process can be used to build a bumper, what matters is the quality of the bead. That’s where having a reliable machine can make or break this project. The last thing you want to do is overpay though. Check out all the newest sales from Weld My Ride for products from your top brands including Lincoln, Miller, ESAB and more.